How to sew storage compartments. Cool ideas to help put the perfect order in the table. Cardboard linen house
Every hostess is familiar with the situation when, when opening a drawer with linen, they find there not neatly aligned stacks of things, but complete chaos. This happens because of the most delicate material from which underwear, socks and tights are sewn. The thinnest lace and the most delicate nylon do not hold their shape and flow along not only the body, but also the chest of drawers, creating a mess there. Again and again it is necessary to rearrange things, restoring order. Do-it-yourself laundry organizer can solve this problem.
This practical and elegant storage is like a genie that will make all your things stay strictly in their places and not get mixed up.
Cardboard linen house
You can buy a ready-made laundry organizer in the store, but it’s much nicer and more creative to make it on your own. In addition, this is a less costly way to get a wardrobe trunk.
Boxes for storing linen can be textile or cardboard. This is the individual preference of each individual person.


A simple cardboard underwear organizer tutorial will inspire you to create this storage.
To create a product, we need any boxes. It can be packages from shoes, household appliances or toys.
The size of the future linen chest depends on the place where it will be located. Based on this, we choose a suitable box or glue it ourselves.

Also for work you will need:
- Paper for decorating the box: old wallpapers, newspapers, pages of a music notebook, sheets from glossy magazines, colored paper;
- Long line. It is more convenient to use than a tool with a short length;
- Brush and PVA glue;
- stapler with staples;
- Simple pencil;
- Utility knife or sharp scissors.

We start crafting. First, let's think about how many things will be stored in this box. The number of cells into which we will divide the organizer depends on this.
Based on the size of the cabinet where the linen chest will be stored, we determine the height of the box. We measure the desired, and cut off the excess with scissors.


Don't throw away the rest of the box. They are useful for the manufacture of partitions. The lid will also serve this purpose. The optimal cell size is 7 × 7 cm or 8 × 8 cm. Based on these data, we mark the box and cut out blanks for the walls.

We decorate the details at our discretion. A box pasted over with old newspaper clippings or music sheets will look spectacular. For a classic strict design, you can choose plain wallpaper.

To match the partitions, the box itself is pasted over inside. It is better to choose wear-resistant paper for decoration. Bright and contrasting design in several colors and paper textures will look interesting and unusual. It is better to start work from the sides, and finish with the bottom.
We decorate the outer side of the organizer with scrap paper, cloth or dense packaging material. Small allowances and folds from paper of a different quality and color look beautiful.

We assemble a lattice from blanks for cells. To do this, we make cuts on the details to the middle of the height and connect them as shown in the photo.


We insert the grate into the box and fasten it with a stapler or glue. The product is ready!
The video will help answer the questions that arise when making a linen organizer with your own hands.
Ribbon Organizer
If for some reason storage for stockings and tights made from boxes turned out to be short-lived, you can make a more practical design - an organizer made of fabric.

The advantages of this product will be that it is durable, takes up a minimum of space in the closet, mobile and suitable for any shelf.
To work, you need a strong bright fabric for the base; fabric of a lower density of a different color for partitions; synthetic winterizer; decorative edging.
Let's move on to the step-by-step instructions. Cut out two rectangles. One of the padding polyester, and the second of the fabric for the base. Their dimensions should be smaller than the area of the box so that the future box does not wrinkle. We sew long storage partitions. To do this, the base is sewn onto rectangles of contrasting material. They are the same length as the base, and twice as wide as the walls of the box. We sew the blanks in the middle, folding them so that the seam is inside. Get a double wall.

Let's draw a wall based on the number of cells that you need.

We sew rectangles, indenting from the edge by 1.5 cm.
We sew transverse partitions from matter folded in half. Turn out, iron.

We sew small pieces together.


We sew sidewalls for the future organizer and stitch them to the product.


We make out the top and ends of the finished box with braid.

Ready organizer can be used for its intended purpose.
Video on the topic of the article
Even more ideas for creating a fabric laundry box are presented in the following videos.
We need a thick fabric (I had a "tick" lying in a chest for 20 years), a 12 mm wide tape and thick cardboard, scissors (). We will make an organizer 36x36cm and 8 cm high. First of all, let's draw it, I decided to make 8 cells 9x9 and 4 cells 9x18. After everything is drawn, we begin to consider how long we need to cut off the strips for the internal partitions.
The first strip consists of the 1st horizontal and 1st vertical partitions of 9 cm each, which means it is 18 cm plus allowances on both sides. How to calculate the rest is shown in the figure. We cut the strips 14 cm wide so that when folded they are 1 cm less than the main width of the organizer. With the help of the marker () we immediately make a markup, according to which we will stitch them together.
So, we need to cut:  Now we sew them according to the markup


We sew parts of the inner walls between the partitions, so that the top and bottom from the edge of the partition to the edge of the wall are 0.5 cm each.


We sew the outer walls and trim the upper edge with tape


We sew the bottom and trim along the edge with a ribbon, if you want the organizer to fold, sew a zipper into the bottom diagonally from corner to corner.

Now we insert strips of cardboard into the walls and sew the corners again, trimming the edges with tape


Here is our organizer

I hope my master class was informative enough and you liked it. Good luck with your needlework!!!
17.04.2019 2 1 708 views
How to create a DIY underwear organizer? Step-by-step instructions will help you make a small storage even from ordinary materials that are often at hand. This is great, because you never want to spend money on purchased containers.
After reading this text, you will learn how you can make a container for storing laundry from a regular milk carton or wide fabric ribbons.
Necessary materials
The step-by-step instructions for sewing an organizer are quite simple, no matter what material you choose to create a linen container. But to successfully create an organizer with your own hands, you need to prepare some materials in advance. First, let's decide what you want to design your organizer from: cardboard or fabric.
Cardboard is usually placed in a cabinet or chest of drawers. Therefore, in addition to the future storage space for the container, you need to take care of the timely purchase of a ruler, a simple pencil or marker, cardboard (you can immediately cut out the shape according to the width and length of the box), a stationery knife or small scissors.
And sewing a do-it-yourself laundry organizer from fabric will help a large piece of fabric in a color that fits into your interior or just pleases the eye, scissors, strong threads, tailor's pins and needles. You may also need tailor's lined paper, as it is quite difficult to design a linen organizer without a diagram.
How to make a do-it-yourself underwear organizer out of cardboard?
This option will be cheap, but for its manufacture you need a good eye. But you need to start by looking for a sheet of cardboard.

- First you need to measure the width, height and length of the laundry storage box. Next, calculate the number of strips needed.

- In order not to spoil anything, you need to make sure. And an ordinary pattern on lined or sewing paper can help with this.

- All stripes must be the same width and height. Only then will you be able to properly plan the creation of the laundry organizer and (which is no less important) successfully install it in the drawer.

- Next, mark the cut lines. On long strips, it is necessary to make three cuts in half the width of the strip, and on short ones, two are enough. What is the main feature? The width should be equal to the thickness of the partition.

- Cuts must be made as carefully as possible. It is better to make a smaller incision and increase it if necessary, than to spoil the part. To strengthen the partitions, you can cover them with varnish or tape.

- The last step is to connect the pieces and place them directly in the drawer for storing underwear.
Responsibly take measurements of the box in which the laundry container will be stored. Otherwise, there is a risk that the product simply will not fit into it. Just in case, it is worth leaving two centimeters in reserve.
Making a cardboard organizer may require some financial investment. To minimize the cost of the organizer, you can use simple milk bags as a material.
- An alternative way to make storage for underwear from cardboard with your own hands is to create an organizer from milk or kefir bags. Free people appear at home at least once every two days.
- Of course, you need to process the boxes before putting the laundry in them. First, cut off the top of them so that they all fit in the box. Then, using soap, wash the inside of the bags.
- Fasten the packages together with a stapler or strong glue like “Moment”. From above, to give aesthetic value, you can cover the product with spray colored paint. It remains only to put it in the box.
How to sew a fabric organizer?
The advantage of making an organizer out of fabric is that it will last longer. In addition, the fabric will not deteriorate if you accidentally spill a little liquid cosmetics on it.

- If you are not happy with the use of cardboard or want to create a homemade travel organizer, fabric should act as a consumable - a tape 12 millimeters wide, cardboard for the base.

- First of all, you need to draw a drawing of a laundry organizer on paper, and then transfer it to cardboard. Consider the dimensions of the box in which you plan to invest the resulting product.

- The following cutting is considered standard: five strips of 18, 36, 45, 54 and 27 centimeters, respectively (remember the allowances of two centimeters for firmware), twelve inner walls of nine centimeters and two pieces of eight, the outer parts of the walls of 4 strips of 36 centimeters with allowances and a bottom format of 36 by 36 centimeters. Fabric will turn out if all the indicated details are correctly sewn.

- Fold the partitions in half and sew the top edge. Then you should sew all the strips in accordance with the markup (in accordance with it, the first three rows include four small compartments, and the last one - four large ones).

- It is necessary to sew partitions so that a margin of 50 millimeters remains above and below the edge of the fabric strips. This will then allow you to sew the bottom to the bottom (you can sew it with a zipper to make it more convenient to fold the storage.
- Next, you need to strengthen the walls with cardboard (just insert it into the double-leaf walls) and process the edges with tape. In this case, you can not worry about the strength of the organizer and install it in a chest of drawers.
Video: how to make a do-it-yourself underwear organizer?
Sometimes it takes a lot of time, effort and nerves to find the right item in the table. To avoid stress and quickly find this or that thing, you need to properly organize storage in drawers. How to do it? We've found the coolest and fastest-to-implement ideas to help you sort out even the biggest mess.
Cutlery storage

If cutlery is stored in a drawer without dividers, then sooner or later they are mixed together. To prevent this from happening, it is better to immediately make sure that forks, spoons and knives are stored separately. To do this, you can buy a special container with dividers in a utensil store, or make your own partitions from plywood bars. At the same time, it is better to cover the bottom with a piece of non-woven tablecloth or stick a decorative film.


Storage of cosmetics

To store cosmetics in a drawer, you need to get plastic and metal containers of different sizes. For convenience, it is recommended to put lipsticks and glosses in one container, put brushes and sponges for applying cosmetics in a separate jar, fix shadows and blush so that they do not crumble when opening and closing the box.

little helpers

To turn a drawer into a functional organizer, it is not necessary to spend money on containers and look for special dividers. It's worth popping into the kitchen and seeing if there are any unnecessary cardboard boxes of corn or oatmeal. Boxes (and lids from them) left after buying shoes, a phone, or other accessories will also come in handy. For beauty, they can be decorated with the remnants of wallpaper, glued together and decorated in the same style.


original solutions
If there were no boxes, containers and dividers at hand, then the most familiar items that can be found in any kitchen will come to the rescue. For example, in almost any supermarket, eggs are sold in cardboard boxes, which, after purchase, are often simply thrown into the trash. In fact, they are convenient to fold paper clips, pins, erasers, keys, threads and much more.My next brag is the underwear organizer!
If you have an Ikea nearby or you have the patience to wait for a package with an order, do not waste your nerves, effort and time on this “nonsense”.
I spent every evening on it for two weeks. Well, how I spent it - I sewed quietly, pricked my fingers with a needle, learned to work with a thimble, watched all sorts of films with one eye, drank tea, stroked cats ...
In general, sometimes I like the process itself more than the result achieved. And it’s also easier and faster for me to do something myself than to go and buy it. I remember somehow I tore my favorite brown-chocolate ankle tights, so while I got the same pair for a new pair, I already managed to make embroidery on the old ones. And I love them more and wear them more often than new)))
This is all to the fact that my perfectionism does not sleep and constantly spoils my mood - I love order in everything! I love it when every thing has its place, when you close your eyes and without hesitation say in which drawer of the chest of drawers is the piece of paper / colored pencils / old phone charger / pool cap that you need right here and now. Oooooh, how crazy I am when I don’t find a thing in its place, or I find it, but where, by definition, it shouldn’t be there. Well, for example, the TV remote control buried among kitchen spatulas, openers and knives. And as for evil, there is no “burrower” under my hot hand, and damned perfectionism does not give me the endurance to leave everything as it is and poke the intruder with my nose, I carry everything in its place...
Needless to say, every morning, when I opened my underwear drawer, I saw a bunch of women's things, absolutely not systematized. And it pissed me off again!
And then I saw HIM - an organizer!
And if in our town such a miracle was sold, I would buy it without hesitation! Well, or at least turned it in my hands and would understand the principle of assembly. Patamushta, when I, inspired by the idea, cut and began to sew, I “invented” the bicycle not the first time.
But if the hands are golden, it doesn’t matter where they grow from! If I haven’t beaten off the desire yet, I’ll tell you how this “miracle” happened to me.
First you need to take the dimensions from the box: length, width and depth (height).
My standard dresser drawer was 76 cm long, 43 wide, 13 high.
From a single-layer synthetic winterizer and the main fabric, I cut out one rectangle measuring 75 * 42
The dimensions of the rectangles must be specially reduced by one or two centimeters from the dimensions of the box, so that the organizer freely enters the box, does not shrink or bulge.
The blue rectangle can be put aside for now - we will need it at the very end.
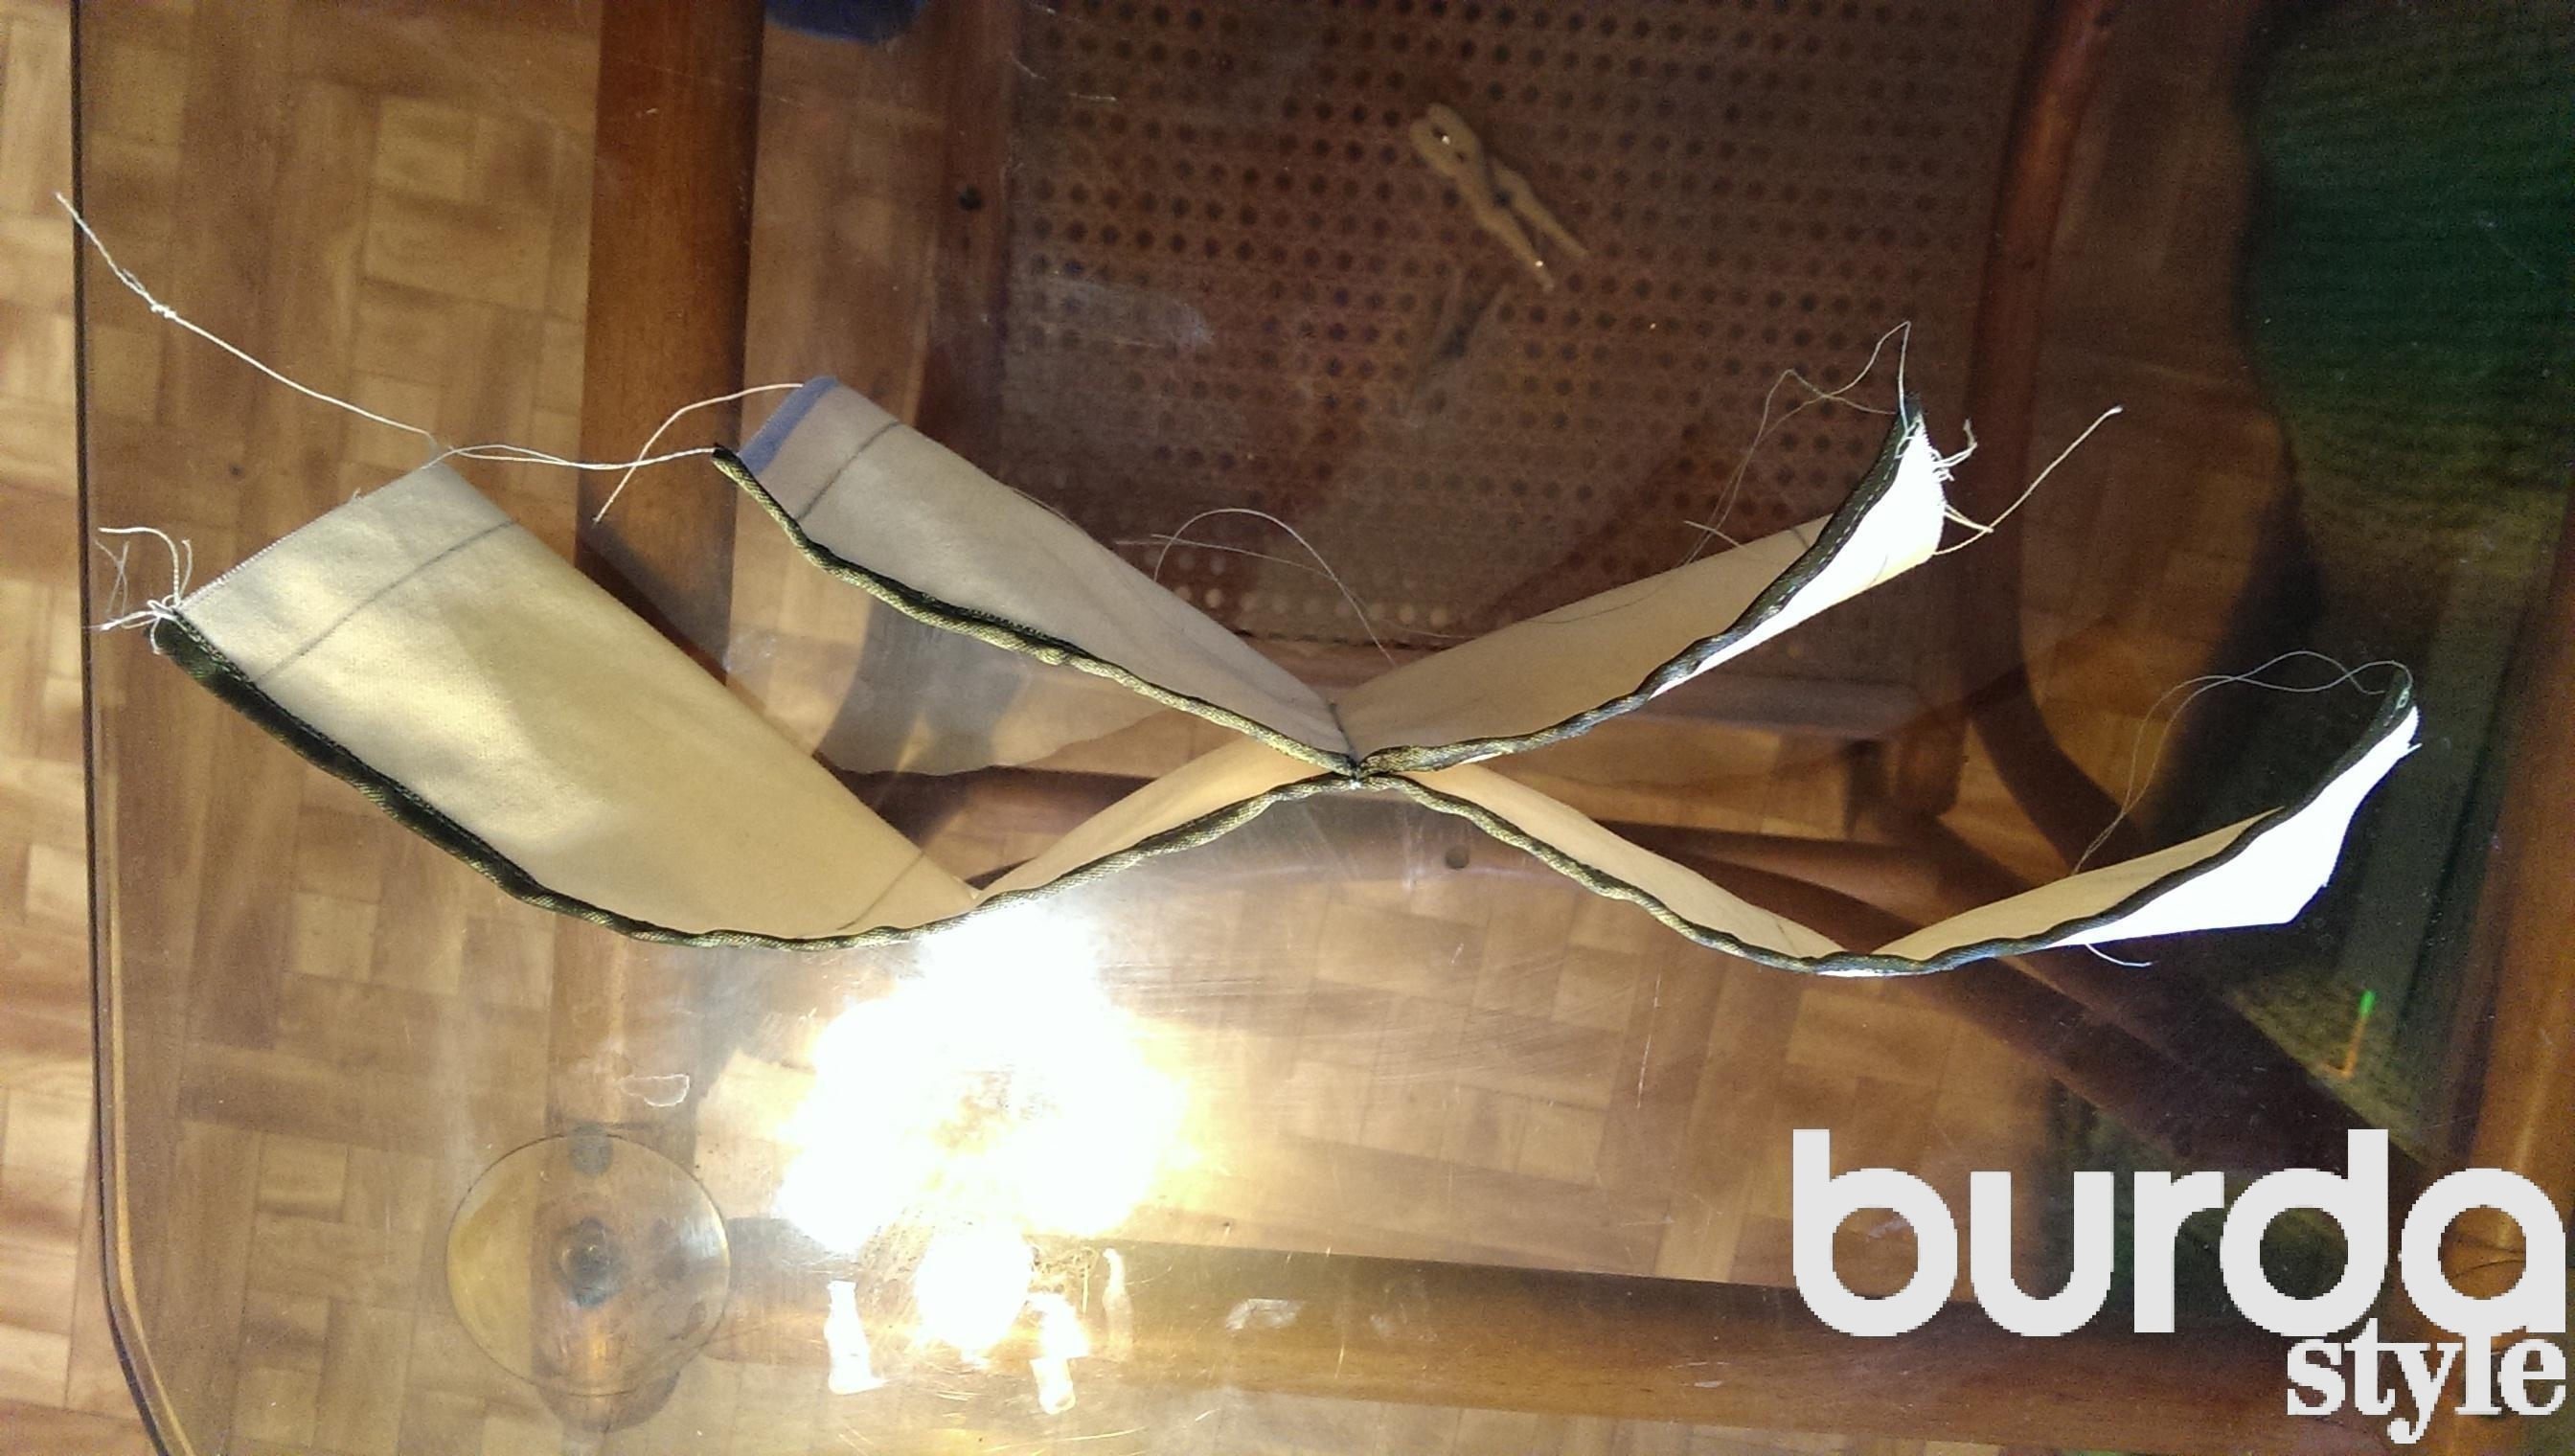
And on the white (this is the base of the organizer) we sew long rectangles (these will be the walls of the cells). It's just that the blue organizer seemed boring to me, and I also took an orange-white fabric.
The length of the rectangles is equal to the length of the base, and the width is equal to twice the height of the box (minus a couple of centimeters - again, so that nothing interferes with closing / opening). We sew the rectangles in the middle, fold the sides together, the seam is inside, and our partition turned out to be double - for additional rigidity and hiding all the seams and edges.
I sewed the outer walls of the organizer on the contrary - with a fold up.
I found the distance between the partitions empirically, optimizing and ergonomically folding bras in different ways and measuring the width.
The number and length of the cells also directly depends on the size of the bust of the hostess)) (here I have already drawn the boundaries).
No need to sew to the edge! Leave a centimeter and a half - then you will understand why.
Now it's a matter of small partitions. Have you determined the width? We add half a centimeter on each side for seam allowances, but on the contrary, we reduce the height by a centimeter. We also make double partitions - we sew such "bags" - as many as we have partitions. (I got 24 pieces). You should not cut everything at once in the same size - you need to periodically check the width between the long partitions (well, or initially sew them perfectly and to the millimeter exactly).
So, we sew the “bags”, turn them inside out. To make the corners turn out well, you can cut them off a little. And then all the details need to be steamed with an iron - this will turn out more evenly and accurately, and it will be easier to work.
We close the section of the “pouch” with an oblique inlay or a ribbon folded in half.
Well, now we have, perhaps, the longest process of our creativity: sewing small partitions to large ones (along the lines marked in advance) from the beginning on one side, then on the other. This is where 90% of the time is spent.
Remember, we did not sew long partitions to the very edge? Now we sew both halves together along the short side (in height), turn it inside out, and steam it with an iron.
We close the upper sections with an oblique trim or ribbon. And from the sides along the edges we sew the walls-rectangles, fold up (as we did before on the long side).
We sew dangling long partitions to the side short wall.
We combine the sections of the side walls in height, stitch them, close the sections with an oblique trim or ribbon - this is the corner you get.
Well, now is the time to remember about the large rectangle, set aside at the very beginning. We put it on the bottom of our design and sew it around the perimeter (I stitched it in a “zigzag” so that the threads from the cuts would not interfere with further work).
Iiiiiii, the final stage - along the perimeter we close the sections with an oblique inlay or ribbon. Particular attention should be paid to the corners - so that nothing puffs up, so that no wrinkles!
Let's take it for a "fitting"!
And now the most pleasant part is putting everything in its place, admiring the perfect order and praising ourselves twice a day)))
But if such a useful thing is passion as you want, and laziness or pens are directed in the other direction, then ready-made organizers for linen, as well as shoe boxes, boxes for hats, vacuum bags and a million of all the things you need to organize the order of things, you can find!
You can also read about some ready-made organizers.